
Hey there wonderful bloggy friends!,
I'm here today with my first Monday Made It of the summer. I must tell you it was almost a Monday "Destroyed" It, but I was able to salvage it and pull through! :-) I'm linking up with Tara from 4th Grade Frolics for Monday Made It!

Today I'm going to show you my chevron corkboard that I made! I don't know about you, but I am ALWAYS losing papers. I thought well what better way to keep track of everything than to have a corkboard so I can pin my papers to it! I have also been a little obsessed with chevron lately too, so I figured, well I might as well try to do a chevron design on it with my classroom colors, which are red, white, and black (pirate themed).


Congrats ladies! You get to pick $10 worth of products from my TPT store!! I will be in touch shortly!!

I found a tutorial on Teaching Special Thinkers blog when she created a chevron corkboard, so I used it as a guide and changed a few things up.
So how did I make this? You need the following materials:
Yard Stick
Cork board (I bought 17x23)
Pencil
Paint colors of your choice
Masking Tape
Scissors

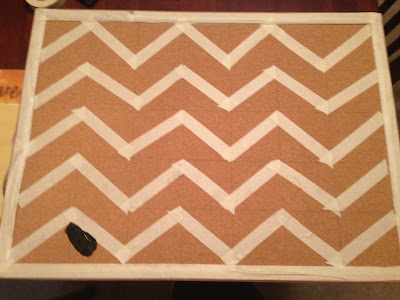
First, I tried to make a grid as even as possible on my cork board with pencil. I made 3 x 3 squares. Then I added masking tape from corner to corner of each square in a zig zag fashion to create the chevron effect.
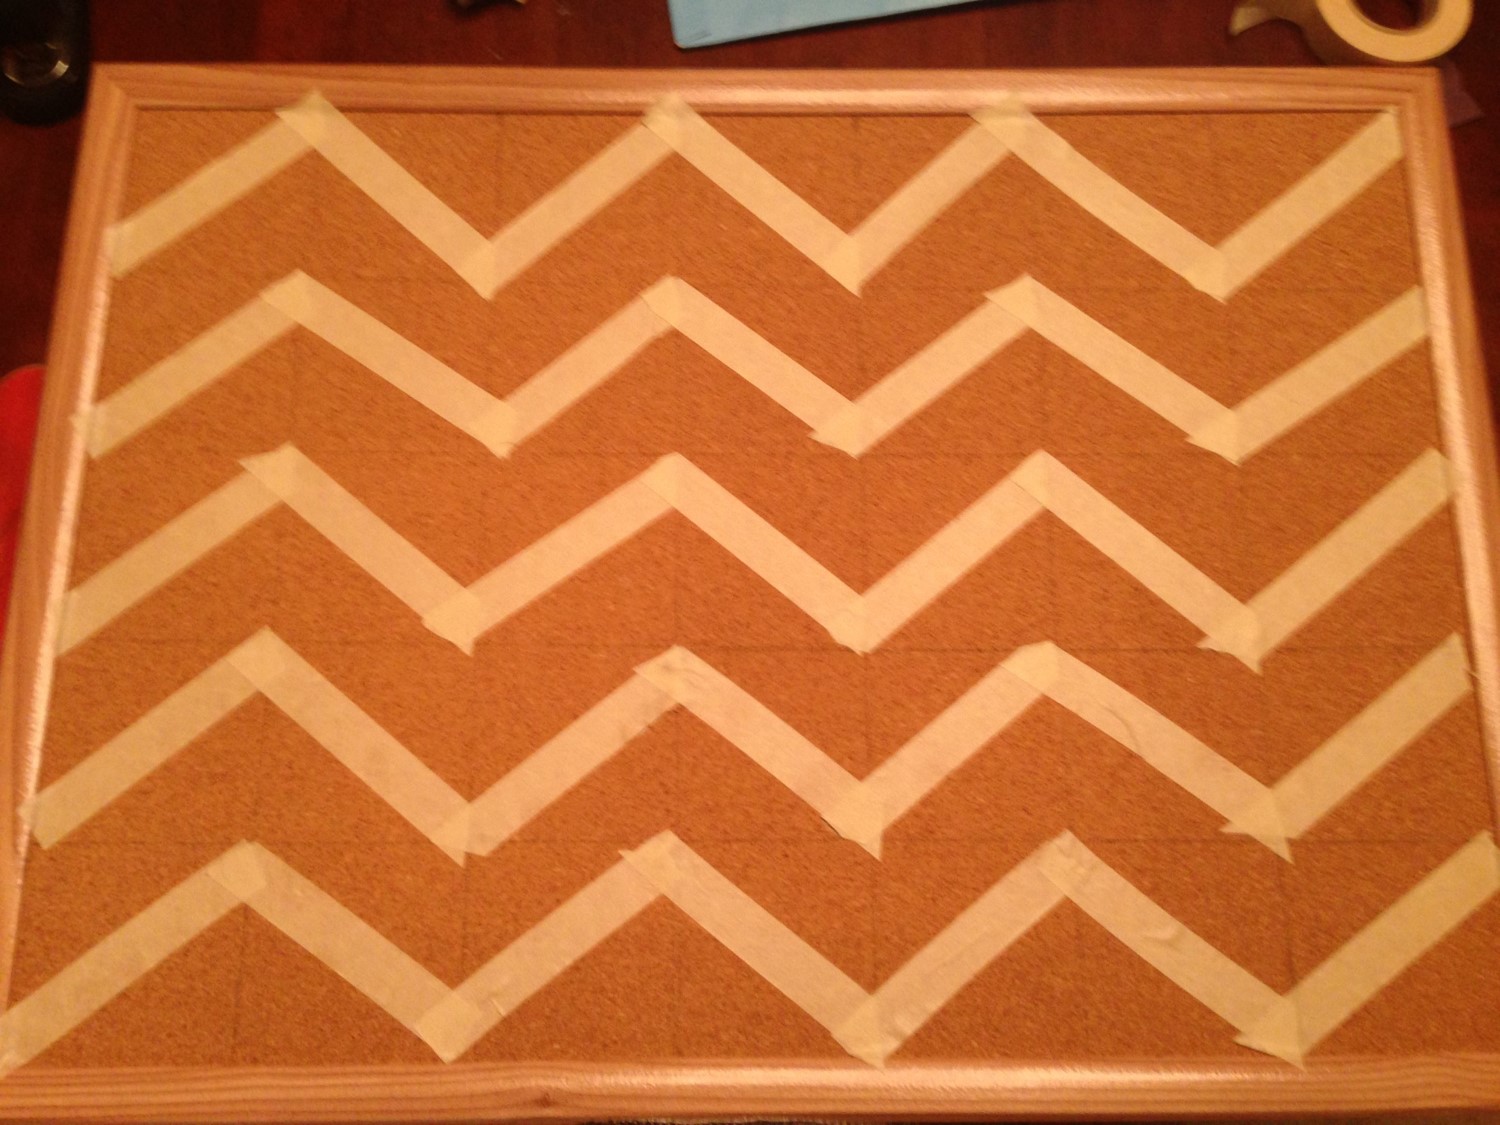
Next, I put masking tape around the border to protect it from paint and I began painting on the inside and outside of the zigzags.

Next is where things started to head south. Once dried, I removed the tape from the corkboard. Well the corkboard didn't like that. This is what happened to the corkboard...

Oh my word, I almost had a heart attack! But never fear...a little improv and we were back on track. I ended up cutting the unpainted corkboard out with a kitchen knife so that it was just the cardboard left. The red and black chevron is still corkboard. Then I painted the cardboard part white and the end result...
Note: You do need a few coats of paint for each color because the corkboard will absorb the paint easily. Overall, this took me a little less than a day to do and it will go perfectly with my pirate décor!
Check out some other classroom crafty ideas on 4th Grade Frolics!!
And a BIG thank you to all of you who follow me over at Bloglovin' or Feedly, whichever you prefer! Here are the winners of my giveaway:
a Rafflecopter giveaway
Congrats ladies! You get to pick $10 worth of products from my TPT store!! I will be in touch shortly!!
Happy Crafting!!,

Wow, I'm impressed!
ReplyDeleteA Teacher Without a Class
I love the cork board. Too cute.
ReplyDeleteKrystyn
Ms Richards's Musings
This turned out so cute! I would've been the one to turn it into a "Monday Destroyed It"... I get so frustrated when things like peeling cork-board happen :P Great job, and way to make lemonade!
ReplyDelete